


Learn More
Pricing
|
Author: Baojian Shen Senior Product Manager, Tencent WeTest
In today's fast-paced software development landscape, UI automation testing has transitioned from a luxury to an absolute necessity. It serves as the critical engine that enables teams to meet aggressive release schedules while maintaining product quality.
The core advantages of UI automation are clear:
Despite these benefits, maintaining local device labs presents significant challenges—from device management to flaky tests and platform-specific complexities.
This is where the WeTest UDT platform makes all the difference, transforming automation from a complex burden into a seamless, cloud-native practice. In this blog, we'll briefly guide you through a complete UI automation demo on UDT cloud real devices, showing exactly how to create robust, scalable automated tests with ease. |
|
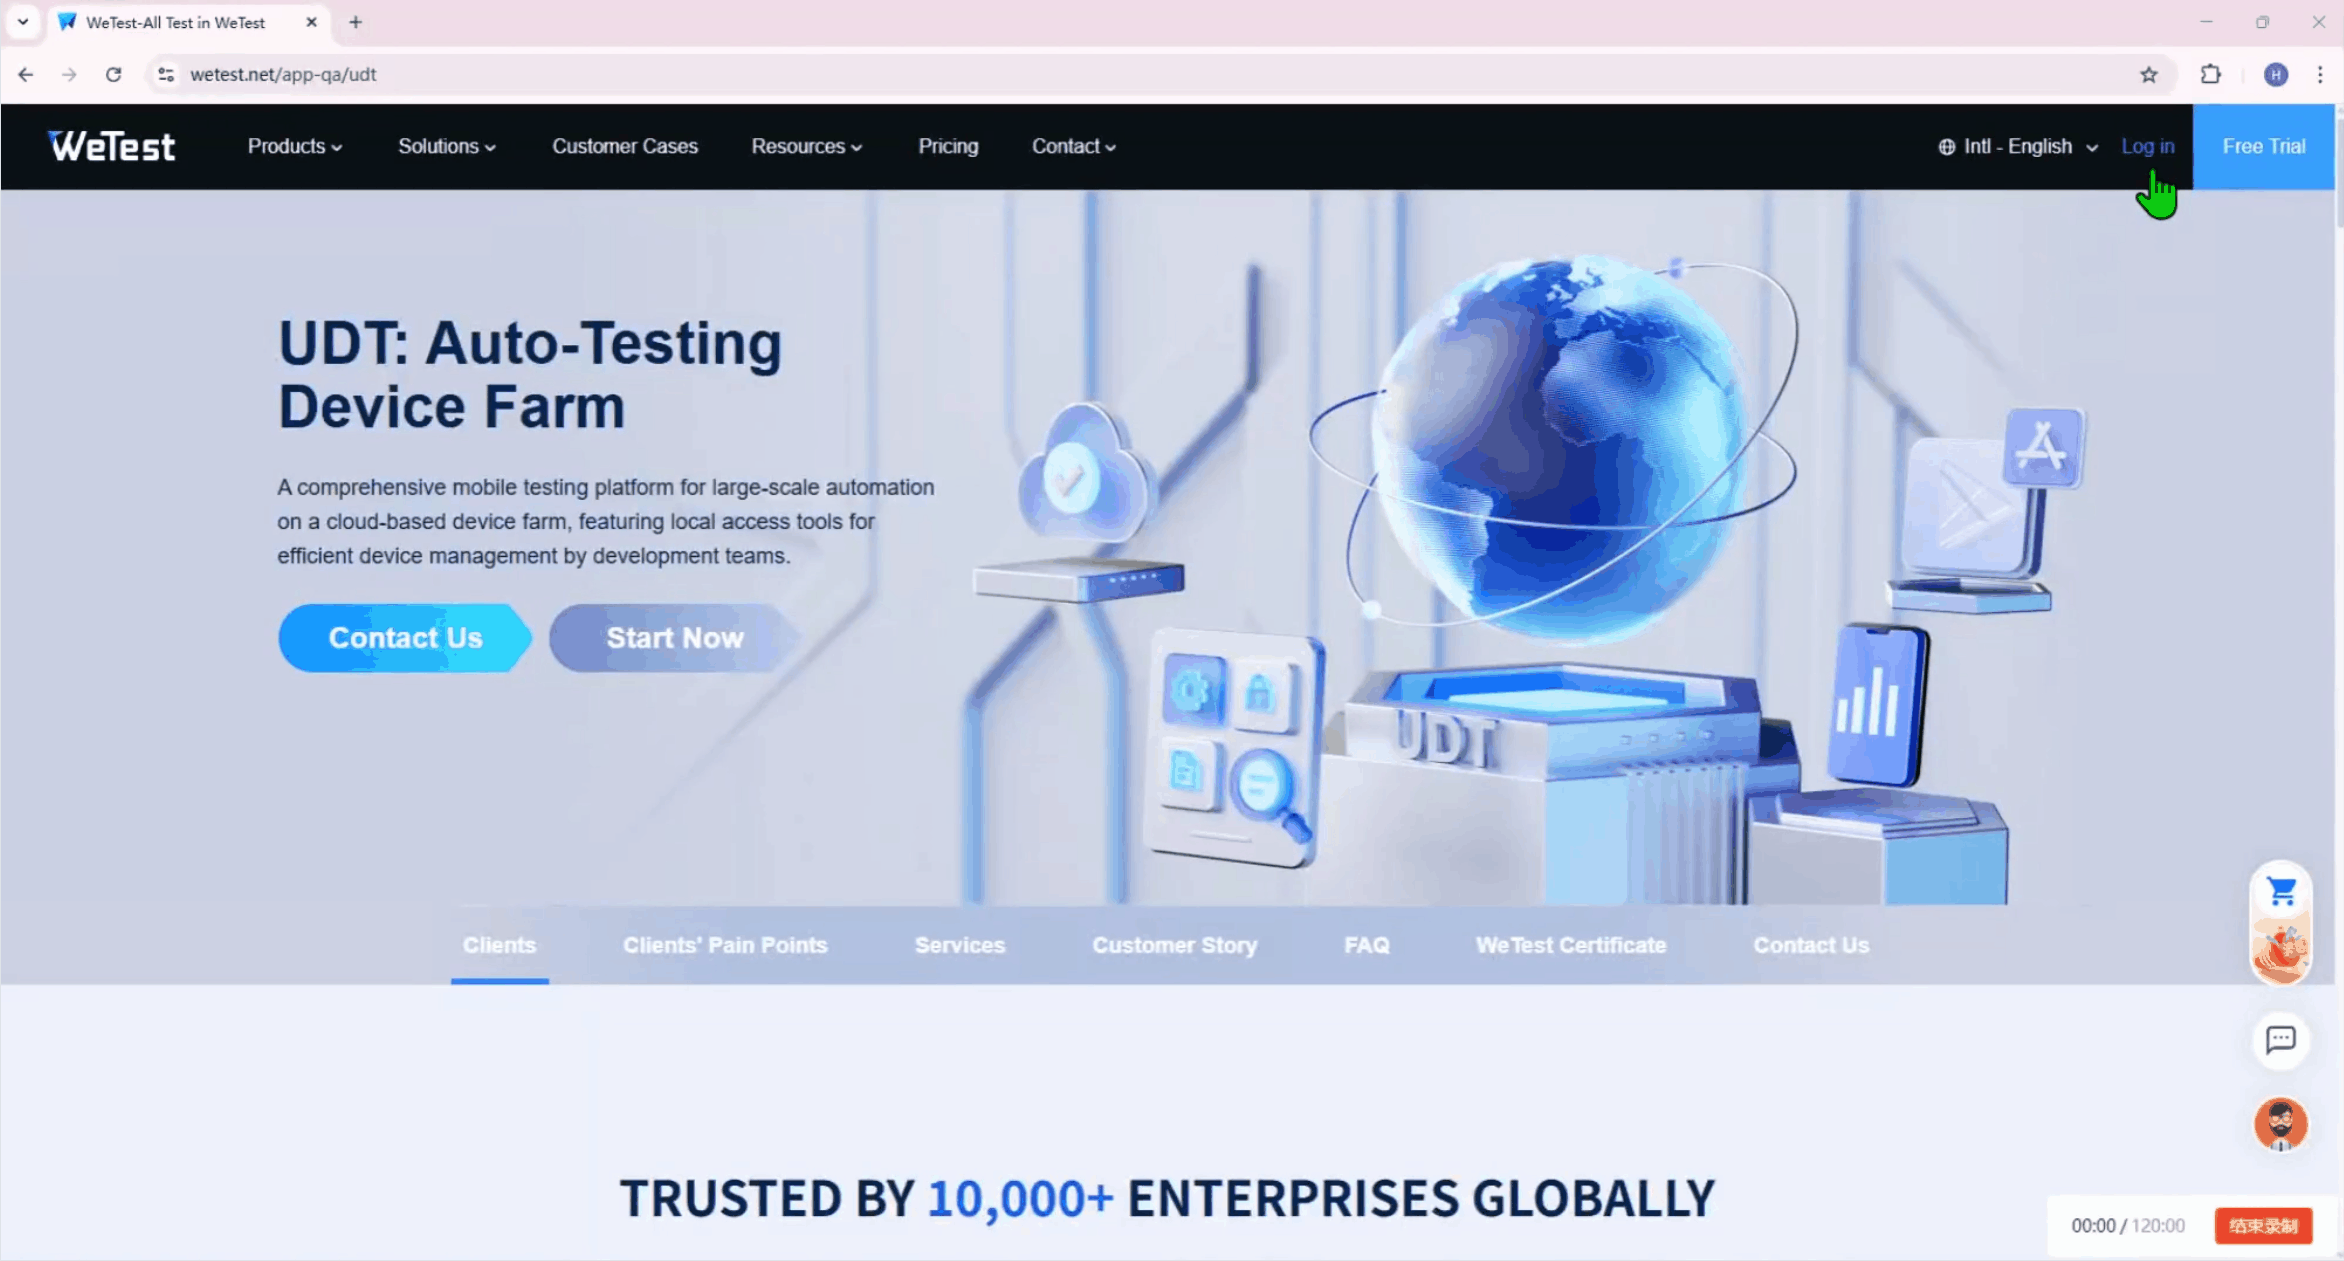
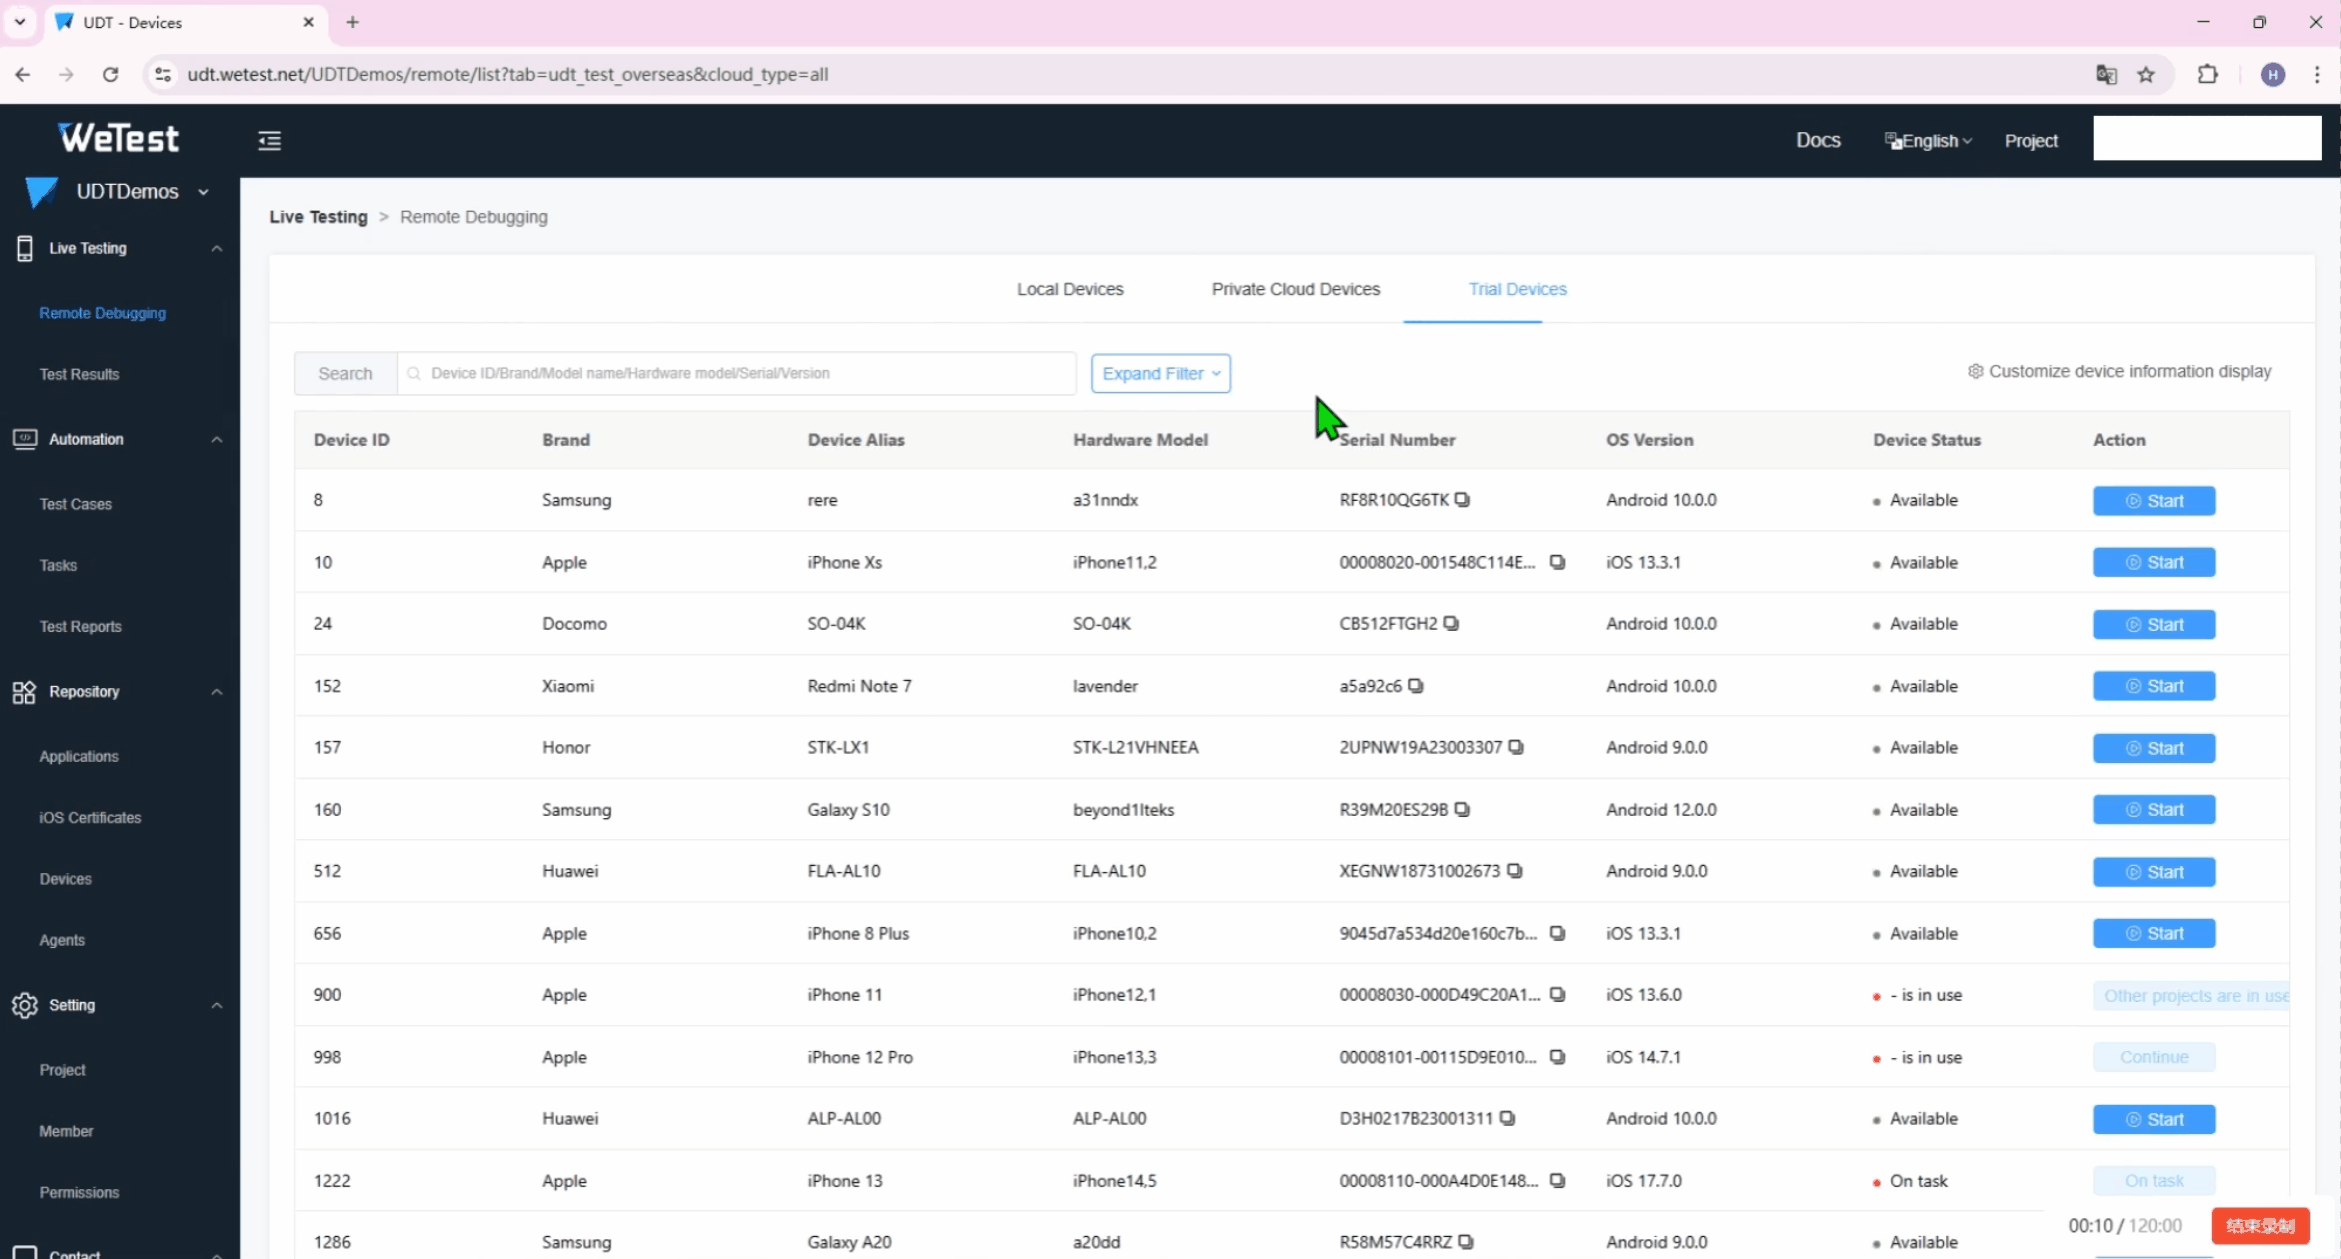
1. Log in to the WeTest UDT platform |
|
The first step is to access the platform and start a real device from the extensive cloud device lab. |
|
|
|
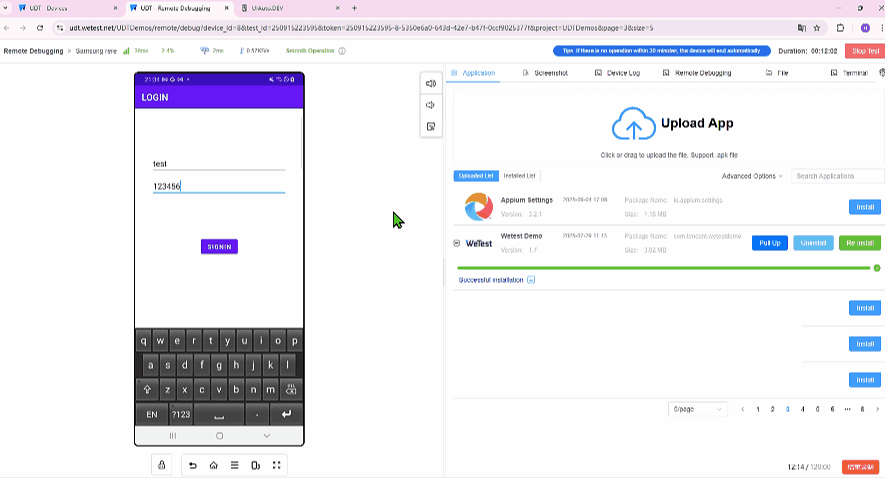
2. Upload and install the application |
|
Once the device is ready, we directly upload and install the demo application (.apk file) onto the cloud device for testing. |
|
|
|
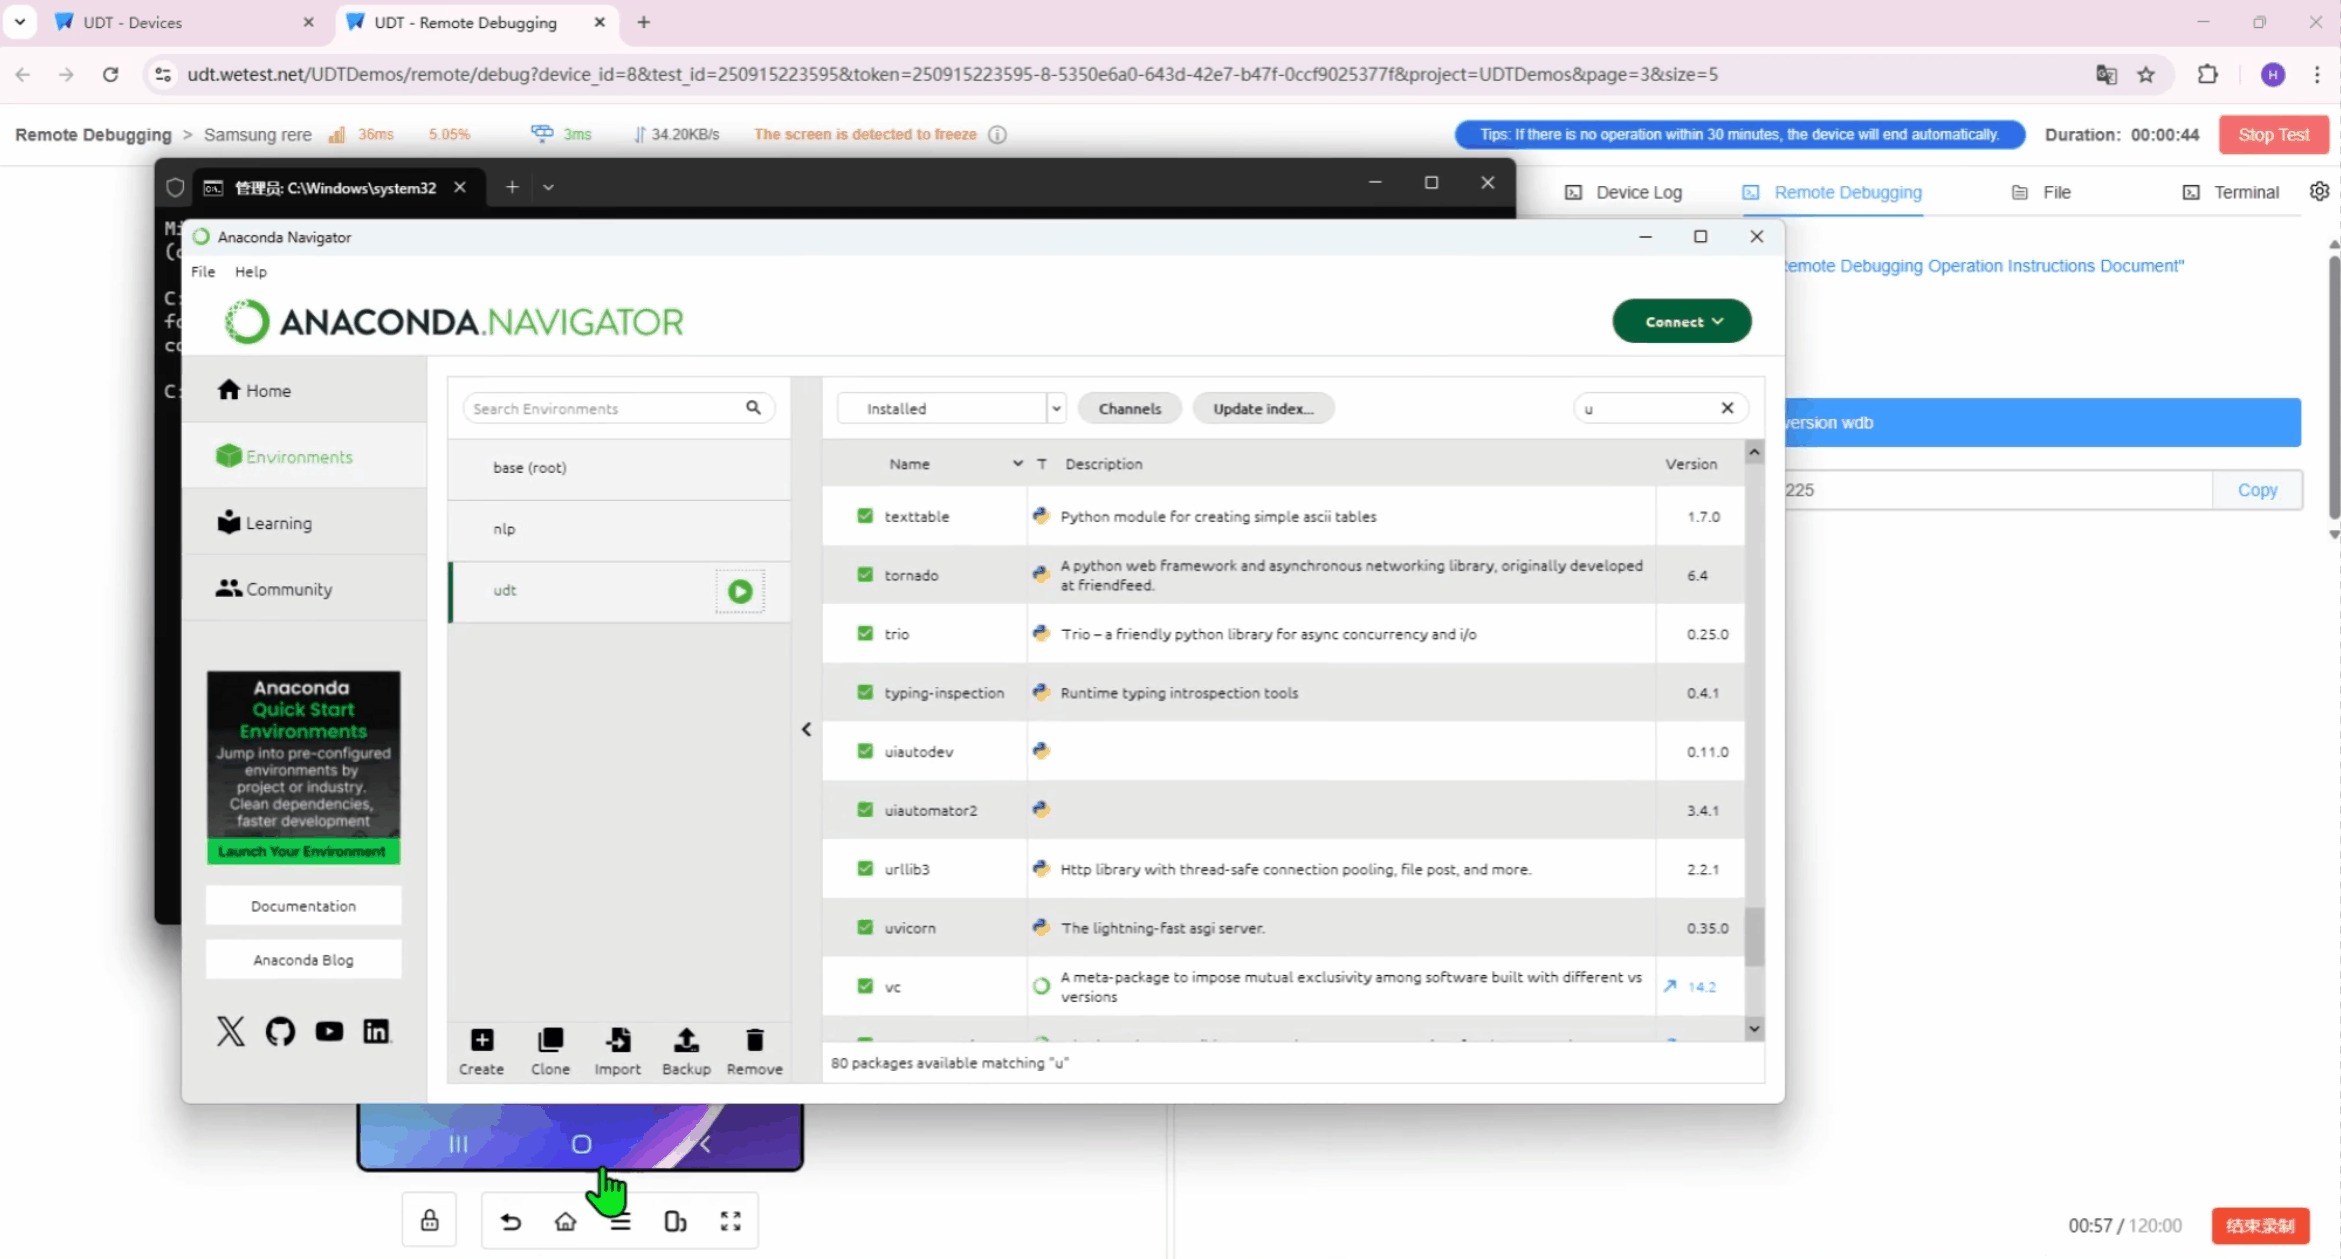
3. Establish Connection & Develop Script |
|
Copy the remote debugging command provided by the platform. Then, use WDB to connect locally to the cloud real device, establishing a stable bridge for control and data transfer. |
|
|
|
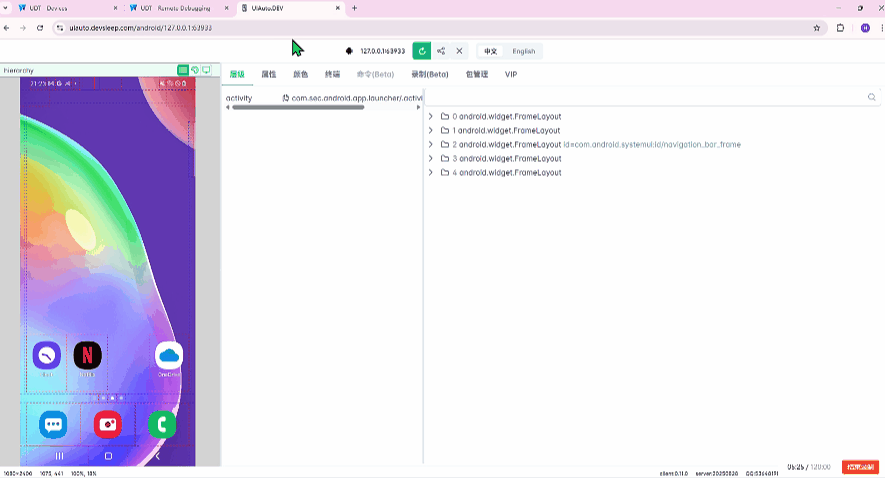
Next, we start uiauto.dev and connect to the cloud real device, providing a powerful IDE for script development. Here, we begin to write the testing script code. A key step is to use uiautomator2 to connect to the cloud real device. The UDT_DEVICE_SERIAL variable can be used to identify the device number of the UDT platform's cloud real device, ensuring our script targets the correct device. |
|
|
|
4. Initial Execution and App Launch |
|
We then execute the test script and review the results. An output of device info indicates a successful connection. The script first needs to get the package name of the demo application (obtainable from the UDT platform or uiauto.dev) and then launch the demo application. |
|
|
|
5. Automating Login and Form Interaction |
|
Now, we automate the login flow. The script is designed to: Locate the username element by text and trigger a click event, then input content. Execute the test script and review the results to verify the input was successful. Locate the password element by resource-id and trigger a click event, then input content. Execute the test script and review the results again. Finally, click the sign in button. |
|
|
|
6. Handling Complex UI: Pop-ups and Scrolls |
|
After logging in, we check the elements on the new page. The next action is to trigger the submit button without selecting the checkbox, which we expect will cause a failure. |
|
|
|
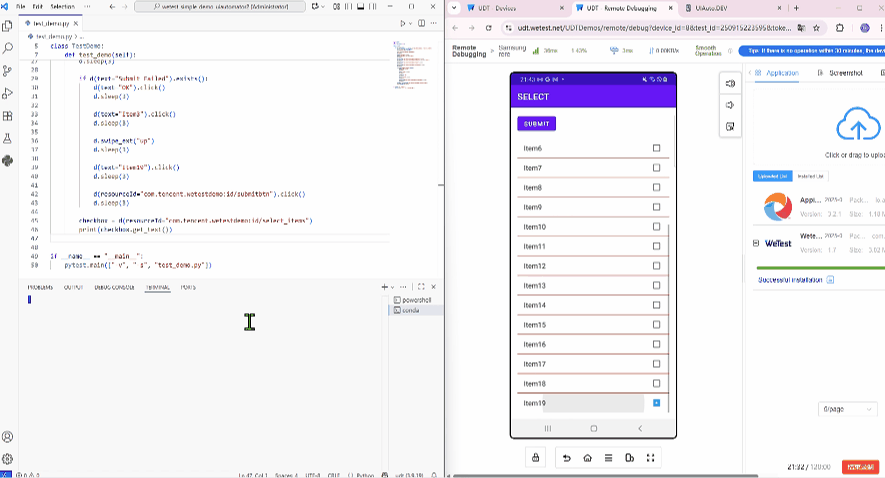
After we execute the test script and review the results, the expected "Submit Failed" pop-up appears. We then check the elements of this pop-up and add logic to handle the pop-up in our script.
To complete the required action, the script must check the elements of checkbox option item3 and get its resource-id, then trigger a click event on the checkbox. Since the list is long, we add a swipe event to navigate and trigger a click event on the bottom checkbox option item19. |
|
|
|
7. Final Validation and Reporting |
|
With the checkbox selected, we trigger the submit button click event again and execute the test script and review the results. On the successful new page, we check the elements on the new page and output the content of the page elements to the console for verification, followed by a final execute the test script and review the results. At this point, script execution has completed, local testing has passed. |
|
|
|
8. Cloud Task Execution and Analysis |
|
The final phase is cloud integration. We package the script into a .zip file and stop debugging on the cloud real device. Then, we upload the packaged test case to UDT.
In the platform, we create a test task, select the application, choose the test environment and framework, select the recently uploaded test case, and choose the cloud real device. Finally, we create and start the task.
All that's left is to wait for the task to complete. Once task execution completed, we can comprehensively review device screenshots, videos, and performance data provided by the platform. |
|
|
|
This end-to-end workflow demonstrates the power and simplicity of using WeTest UDT for UI automation. It brings consistency, scalability, and deep insights to your testing process. |
Baojian Shen is a Senior Product Manager at Tencent WeTest with over 10 years of experience in software testing and game testing. He leads product planning and solution development for testing platforms and quality engineering initiatives, focusing on automated testing, compatibility testing, performance testing, game testing solutions, and scalable test platform development. Baojian’s work bridges practical testing challenges and product strategy, with emphasis on AI-driven testing, quality engineering, and implementable, evidence-based methodologies. He regularly shares industry insights grounded in real-world projects and measurable outcomes.